Inserting Distribution Equipment
This tutorial teaches you how to insert distribution equipment in your one-line diagram.
Open drawing E-4.1.
Insert Distribution Equipment One Piece at a Time
-
Run the
Insert Distribution Equipment command. The Insert Distribution Equipment dialog box will open.
Ribbon:DM Electrical→One-Line Diagram→  Insert Distribution Equipment
Pulldown Menu:DM Electrical→One-Line Diagram→Insert Distribution Equipment -
Set Tree ☰ to UTIL.
-
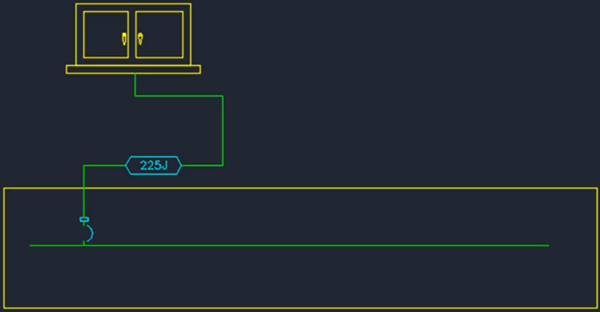
Set Block ☰ to Utility Transformer, Pad-Mounted (Small).
-
Press the button.
-
Follow the prompts at the command line to insert the transformer on the drawing.

-
Run the
Insert Distribution Equipment command. The Insert Distribution Equipment dialog box will open.
Ribbon:DM Electrical→One-Line Diagram→ Insert Distribution Equipment
Pulldown Menu:DM Electrical→One-Line Diagram→Insert Distribution Equipment -
Set Tree ☰ to H1.
-
Set Block ☰ to <Custom Panel Box with Bus>.
-
Press the button.
-
Follow the prompts at the command line to insert the panel on the drawing. The orientation of the bus varies based upon the shape of the panel rectangle you draw. A wide panel will have a horizontal bus as shown below. A tall panel will have a vertical bus.
Generate Multiple Pieces of Distribution Equipment
-
Run the
Generate One-Line command.
Ribbon:DM Electrical→One-Line Diagram→  Generate One-Line
Pulldown Menu:DM Electrical→One-Line Diagram→Generate One-Line -
Set Tree ☰ to UTIL.
-
Press the button.
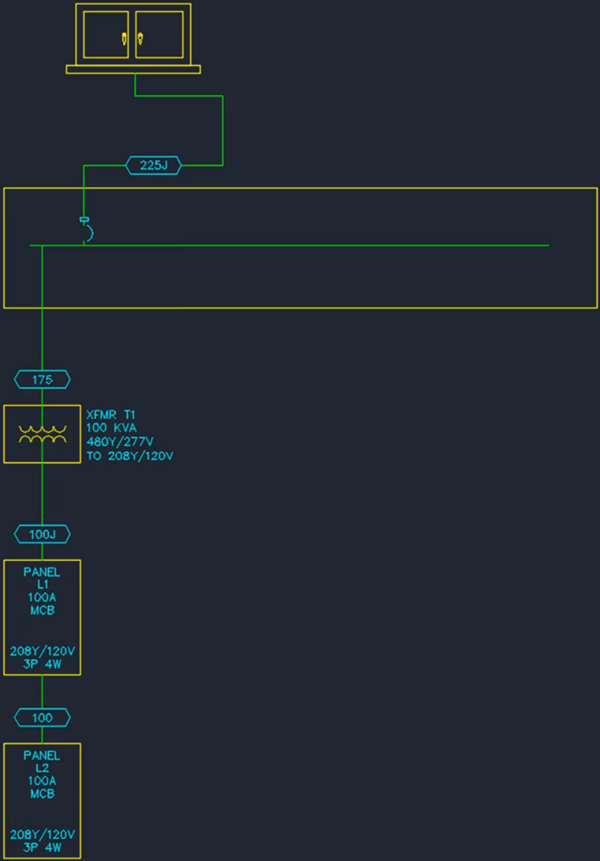
Transformer T1, panel P1, and panel P2 will be inserted automatically for you.