Adding Labels
This tutorial teaches you how to insert labels in your one-line diagram.
Open drawing E-4.1.
Insert Labels
-
Run the
Insert and Modify Labels command.
Ribbon:DM Electrical→One-Line Diagram→  Insert and Modify Labels
Pulldown Menu:DM Electrical→One-Line Diagram→Insert and Modify Labels -
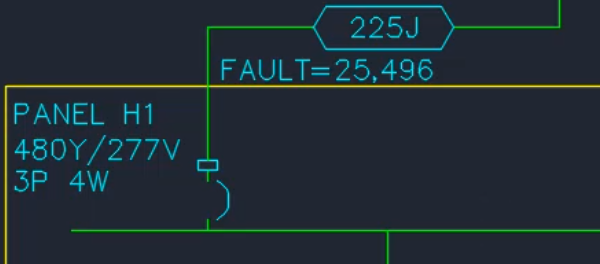
Select panel H1 on the drawing. The Insert and Modify Labels dialog box will open.
-
In the Description row, set Prefix to PANEL . Include a space after "PANEL" so that there is a space between the label and the panel name.
-
In the Volts row, check the box.
-
In the Fault @ Device (A) row, set Prefix to FAULT=.
-
Press the button.
-
Specify the insertion point for the panel name label.
-
Press ENTER to place the volts label below the panel name label.
-
Specify the insertion point for the fault label.
Move Labels
-
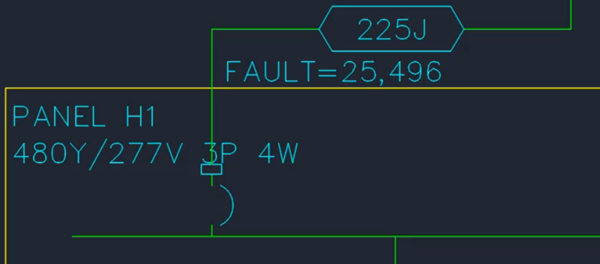
Select panel H1.
-
Use the grip on the top left of the fault label to move its location.
-
Use the grips on the right side of the panel name and volts label to reduce the size so that the volts label wraps.