Adding a Panel
This tutorial teaches you how to add a new panel to your one-line diagram.
Open drawing E-4.1.
Create Panel L3
-
Run the
Panels command. The Panel dialog box will open.
Ribbon:DM Electrical→Distribution Equipment→  Panels
Pulldown Menu:DM Electrical→Distribution Equipment→Panels -
Press the button.
-
Select panel L2.
-
Press the button.
-
Press the button.
-
Set New Panel Callout to L3.
-
Press the button to create the panel.
-
In the Fault Analysis section, press the button.
-
Set Feeder Length Calculation Method ▾ to Custom.
-
Set Feeder Length to 100.
-
Press the button.
-
Press the button.
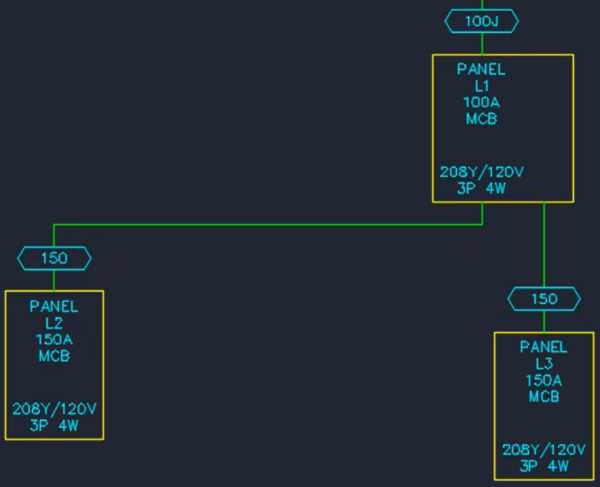
Insert L3 on the One-Line Diagram
-
Press the button. The Panel dialog box will close and the Insert Distribution Equipment dialog box will open.
-
Set Tree ☰ to L3.
-
Press the button to close the dialog box.
-
Follow the prompts at the command line to insert the panel on the drawing. You will then be prompted to connect to an upstream distribution equipment.
-
Select panel L1 on the drawing. the Distribution Equipment Connection dialog box will open.
-
Set Even Breakers ☰ to 2.
-
Set 🔘 Feeder Connection Drafting Style to Connect as One-line.
-
Press the button to close the dialog box.
A feeder will be inserted from panel L3 to panel L1.